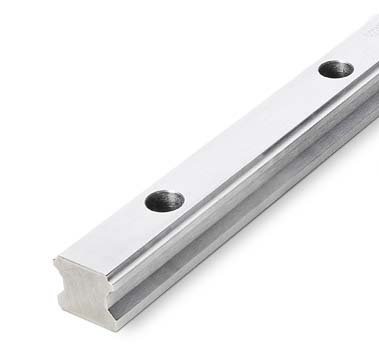
It’a a step-by-step guide to installing and mounting linear rail and wagons (linear guideway). Rails and wagons are highly precise and expensive linear guides, that withstand high forces and torques in vertical, longitudinal, and transverse directions.
The high precision of these components is due to the use of a moving ball system inside those linear guideways. In such a way that the balls are always connected to the rail and roll on it. These balls move and roll within a groove and move back and forth. However, for smooth and low-friction movement, these balls are not completely fixed and if they come off the rail, their front is open and they fall out of their groove.

For this reason, the installation and assembly of the wagon on the rail are very sensitive and must be done carefully.
To mount these parts follow these steps:
1- Unpack and clean the rail. Make sure that there are no burrs or any other obstacles where you intend to install the wagon on the rail. If the rail end has any dirt, first smooth and clean it using a file or sandpaper.

2- Unpack and clean the wagon.
Notice: you must not remove the plastic piece inside the wagon. In this case, the balls will come out of their cage, and the wagon will lose its functionality.

3- Install the grease fitting on the wagon.
4- Place the rail on a flat and horizontal surface. Fit the wagon close to the end of the rail where it is supposed to be installed. Position the plastic piece along the rail and make sure it is in contact with the rail. Then, carefully move the wagon through the rail, until it moves and sits on the rail and simultaneously plastic part moves out of the guideway block. Be careful not to apply excessive pressure while doing this. it may cause balls to move and come out of their cage. If the wagon does not easily install on the rail, move backward and push the plastic part to go inside the wagon, re-file and clean the rail head, then try again.

Notice: Keep the plastic part for possible repairs and modifications in the future.


